HubSpot Integration
The bi-directional integration with HubSpot allows you to seamlessly import account data into Recotap and export valuable account insights to HubSpot.
Steps to Integrate HubSpot and Recotap
- Login to Your Recotap Account:
- Navigate to the Settings Icon in the top-right corner of the title bar.
- Go to Workspace > Integrations from the navigation menu.
The following screen will display all the available CRM tools that can be integrated with Recotap.
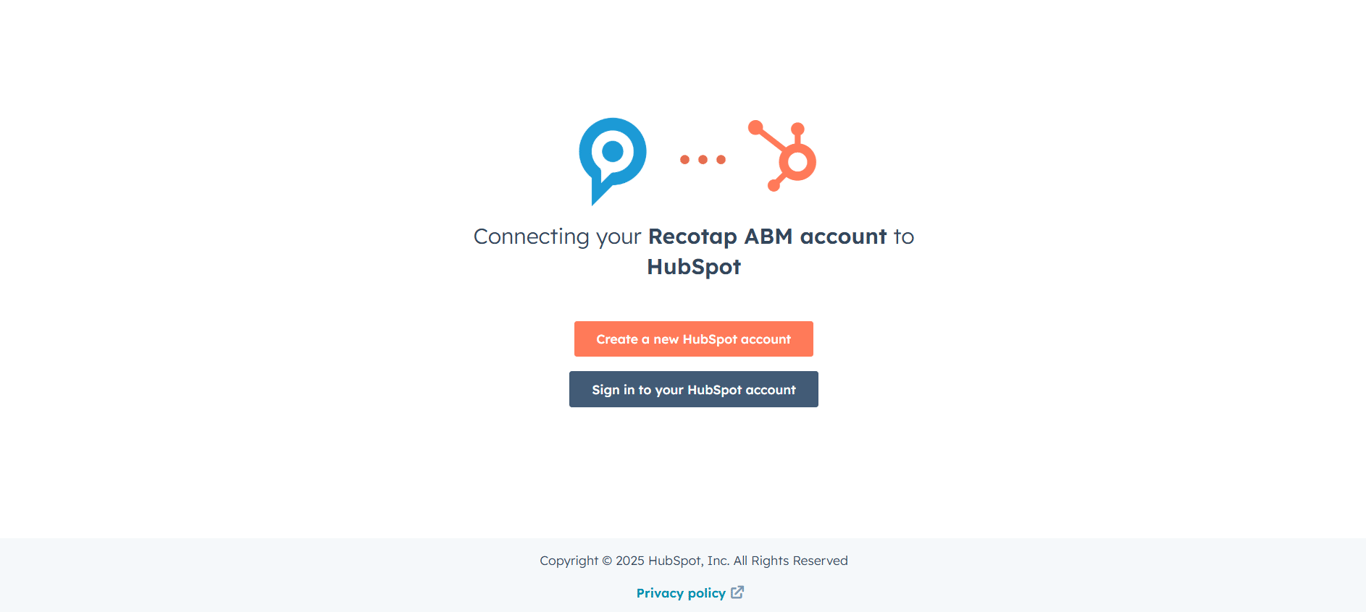
- Select HubSpot from Available Tools:
- Click the Connect button next to HubSpot in the list of available CRM tools.
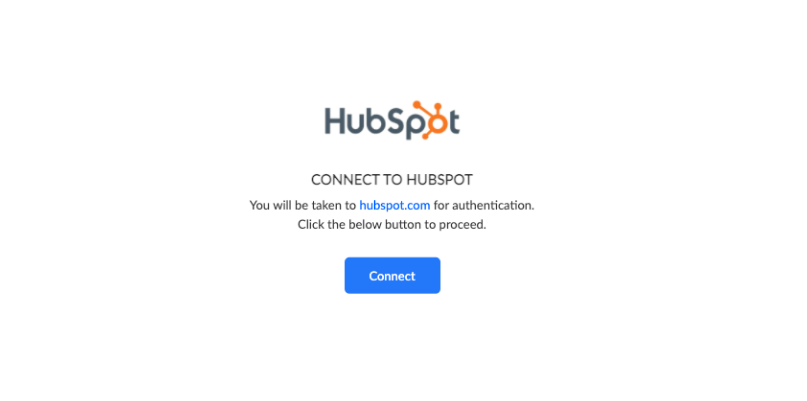
- Authenticate Your HubSpot Account:
- You will be redirected to the HubSpot login page.
- Enter your HubSpot credentials and follow the on-screen prompts to verify your Google login, if required.
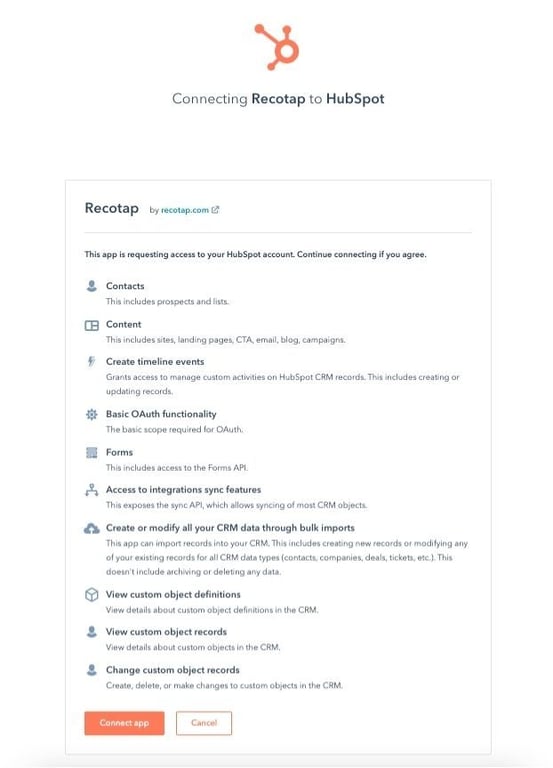
- Grant Permissions:
- Review the requested permissions and click Connect App to establish the connection.
- Choose the HubSpot Account:
- Select the account you wish to connect with Recotap.
- Integration Complete:
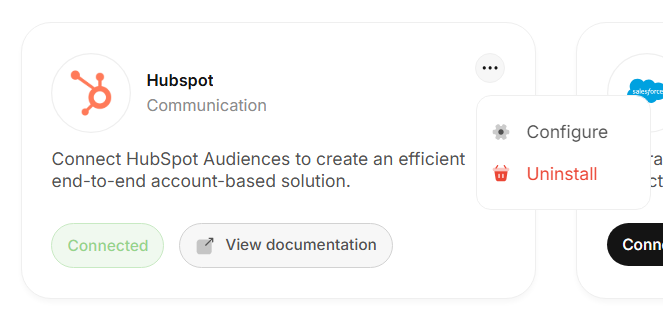
- Once connected, HubSpot will appear as Connected in the Integrations section of Recotap.

Configuration and Mapping of Properties After HubSpot Integration
After completing the integration, configure property mapping to ensure seamless data flow between HubSpot and Recotap
Steps to Configure Property Mapping:
- Access the Configuration Settings:
- Navigate to the Integrations Dashboard in Recotap.
- Click the three-dot menu (…) next to HubSpot and select Configure.
- Select Fields to Map:
- On the Field Mapping Screen, identify the properties to sync.
- Examples of Mapping
- Recotap Property: Company Name → HubSpot Property: Company Name.
- Recotap Property: Domain → HubSpot Property: Website URL.
- Verify Mapping:
- A green checkmark under the Mapped column confirms the mapping is valid and complete.
- Save Configuration:
- Click Save to apply the field mappings.
- Write Fields to HubSpot
- Journey Stage
- Overall Account Score
- Advertising Activity Score
- Website Intent Score
- G2 Intent Score
- Bombora Intent Score
- Write Back to HubSpot
- Only update existing accounts in HubSpot
- Create new accounts and update existing ones (Recommended)
- Mandatory Field Restriction:
- How to Resolve:
- Temporarily remove the extra mandatory fields in HubSpot for company creation.
- Allow Recotap to create the account automatically.
- Reapply your mandatory field rules once the sync is complete.
Advanced Configuration Options
Once your primary field mapping is complete, you can further refine how Recotap communicates with HubSpot by adjusting write-back preferences and data sync behaviour.
Choose which Recotap fields you want to push to HubSpot whenever account data is updated.
Commonly mapped fields include:
✅ Tip: Select only the fields relevant to your reporting and workflows to keep HubSpot data focused and clean.
Decide how Recotap should handle account data synchronization with HubSpot:
Updates will apply only to already existing records. No new accounts will be created in HubSpot.
If an account doesn’t exist in HubSpot, Recotap will automatically create it. Existing accounts will be updated with the latest data from Recotap.
💡 Note: Account and property updates occur automatically every 24 hours.Any records not synced in the current cycle will automatically be picked up during the next 24-hour sync.
⚠️ Troubleshooting: Account Creation or Sync Issues
If your accounts are not being created automatically in HubSpot, it’s likely due to mandatory field dependencies in your CRM.
Recotap can only auto-create HubSpot accounts using the fields Account Name and Domain.
If your HubSpot instance requires any additional mandatory fields (e.g., Owner, Lifecycle Stage, Pipeline),
Recotap will not be able to create the account automatically.
🛠️ Quick Fix:To check if this is the issue, go to your HubSpot Settings → Data Management → Properties → Company, and review which fields are marked as “Required.”
 Made with Bullet