Salesforce Integration
The bi-directional integration with Salesforce enables you to seamlessly import account data into Recotap and export valuable account insights back to Salesforce.
Connect Your Salesforce Account With Recotap
- Login to Recotap:
- In the Client Panel, navigate to the Settings Icon in the top-right corner of the title bar.
- Go to Workspace > Integrations from the navigation menu.
- Select Salesforce:
- From the list of available CRM tools, click the Connect button next to Salesforce.
- Authenticate Your Salesforce Account:
- You will be redirected to the Salesforce login page.
- Enter your Salesforce Username and Password, and select Log In.

Note: You may be prompted to enter a verification code after entering your Salesforce credentials to complete the integration process.
- Verify Connection:
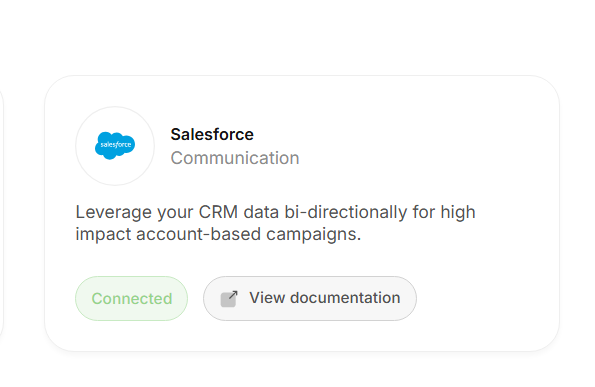
- Once logged in, you will be redirected to the Recotap Integration Dashboard, where Salesforce will appear as Connected.
Configuration and Mapping of Properties After Salesforce Integration
Once Salesforce is integrated with Recotap, you must configure property mapping to ensure seamless data synchronization between both platforms.
Steps to Configure Property Mapping:
- Access the Configuration Settings:
- Navigate to the three-dot menu (…) next to Salesforce in the Integrations Dashboard.
- Click Configure.
- Select Fields to Map:
- On the Field Mapping Screen, choose the properties you wish to map.
- Example Mappings:
- Recotap Property: Company Name → Salesforce Property: Account Name.
- Recotap Property: Domain → Salesforce Property: Website URL.
- Verify Mapping:
- A green checkmark under the Mapped column confirms that the mapping is complete and valid.
- Save Configuration:
- Click Save to finalize the field mappings and ensure the configuration is applied.

 Made with Bullet