Creating a Smart Page
Watch a quick video guide on how to create personalized landing pages in minutes.
1. Accessing Smart Pages
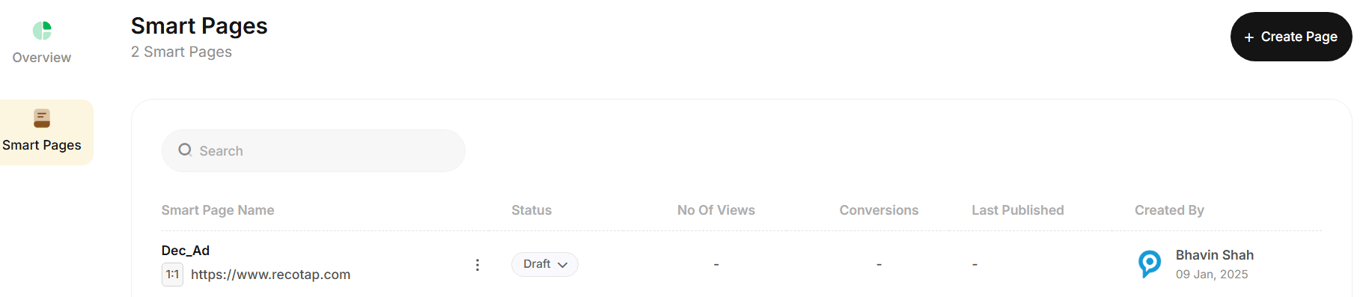
- Navigate to the Smart Pages section in the Recotap platform.
- On the Overview page, view the performance metrics of previously created Smart Pages.
- Use the sidebar’s Smart Pages tab to view, manage, and create pages, which includes:
- Name
- Status (Active/Draft)
- Views
- Conversions
- Last Published Date
- Creator's Name
2. Creating a Smart Page
- Click Create Page to begin.
- Fill in the required details:
- Smart Page Name: A descriptive name for easy identification.
- Website URL: Specify the URL where the Smart Page will be hosted.
- Account Source: Select accounts manually or from predefined segments.
3. Adding Personalization Content
Enrich each target account with personalized data.
- Use the Personalisation Token dropdown to add the columns you want -such as Industry, Use Case, Persona, Custom Message, Header Text, and more.
- Every column you add becomes a variable that can be inserted into your Smart Page content.
- You can fill these values manually, upload a CSV, or use Errors & Blanks to quickly spot missing data before publishing.
- Once all required fields are added and populated, click Next to move to Personalised Rules.
🖼️ Adding Images, Videos, and External Links
Personalising media assets requires a small but important setup on your Smart Page.
1. Ensure Placeholders Exist on your Default Landing Page
To personalize images, videos, or links, your default Page must already contain placeholder components such as:
- Image placeholder (banner, case study tile, logos, etc.)
- Video placeholder (intro/demo section)
- Hyperlink placeholder (CTA buttons, resource links)
Recotap will only swap content into existing blocks - it cannot inject new components automatically.
2. Uploading Images or Videos
If you're using variables like Case Study Image, Custom Banner, or Intro Video, follow these steps:
- Upload the media file to your website’s hosting server, CMS, or CDN (where your site normally stores images or videos).
- Copy the public URL of the media asset.
- Paste the URL into the respective column in your personalisation data table.
Recotap will fetch and render the asset dynamically using this URL.
3. Adding CTA or Resource Links
For CTA buttons or personalised hyperlinks, simply enter the full URL in this format: https://www.example.com
These links will automatically be inserted into the corresponding CTA placeholder on the Smart Page.
4. Smart Page Designer
- In the designer, click any text or media block you want to personalize.
- Insert dynamic placeholders using Recotap Account Properties.
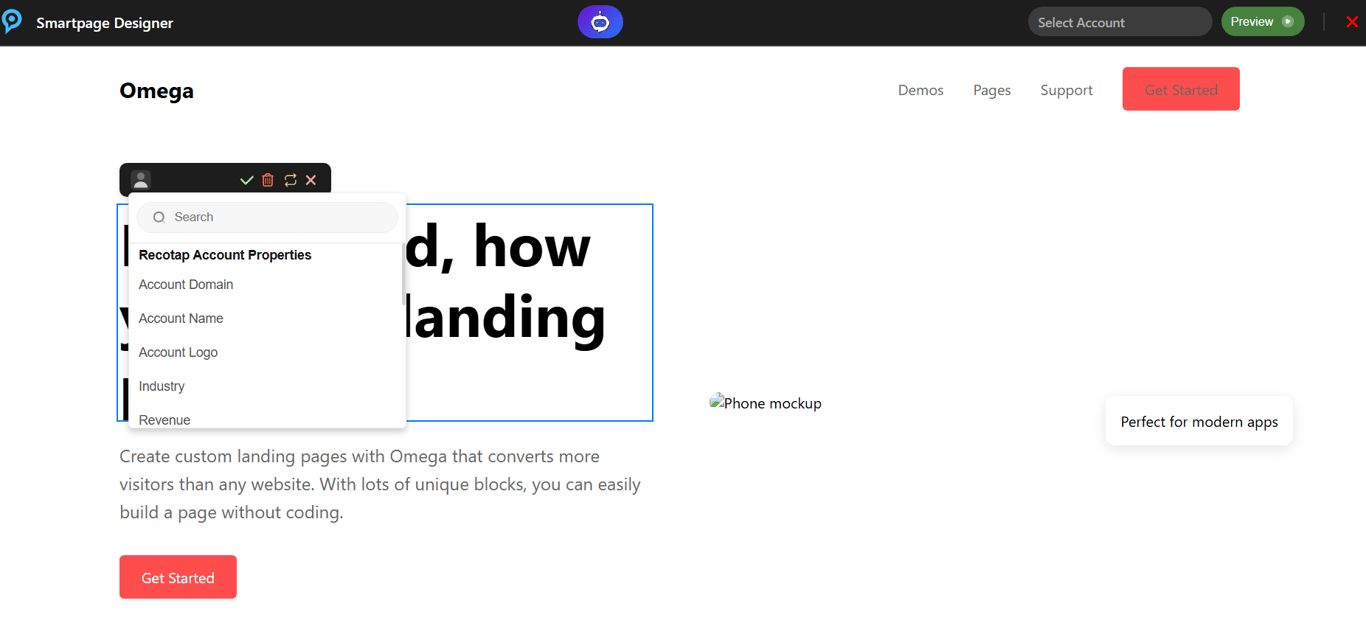
- For example, a placeholder like {{company.name}} dynamically displays the specific company name for each account.
- Click ✔ Save after editing every placeholder.
- Use 🔄 Refresh to redo a change and 🗑 Delete to remove a placeholder.
5. Finalizing the Page
- Preview the Smart Page by selecting an account from the top preview dropdown.
- Review, adjust, and Save all changes.
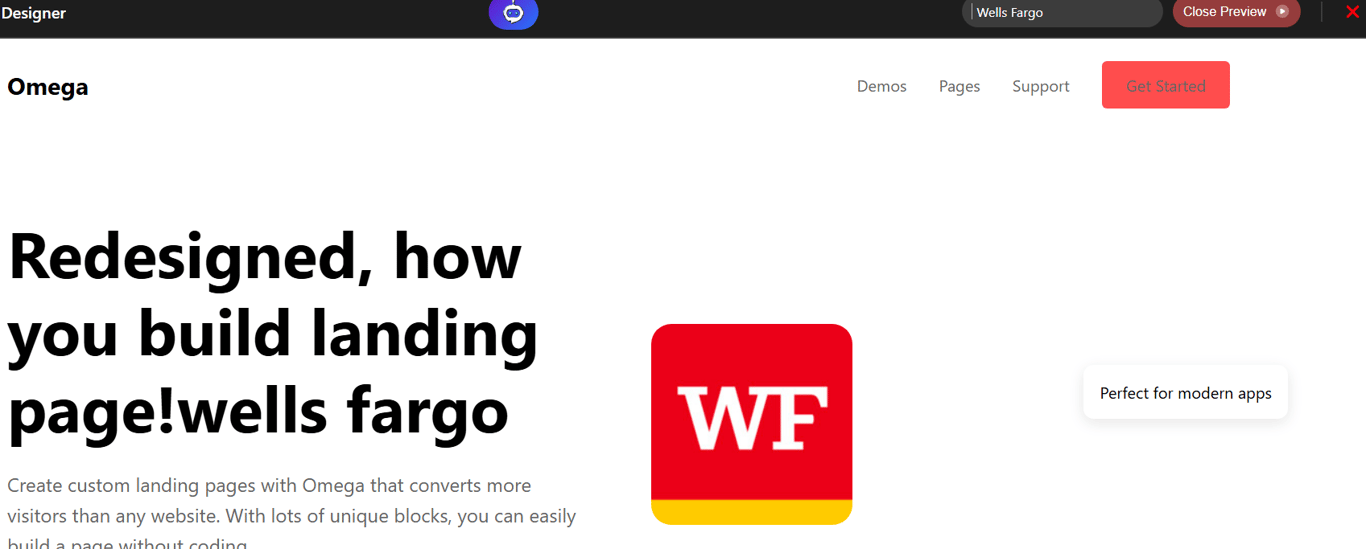
- Close the designer and click Publish to make the page live.
- If you edit later, remember to Publish Changes—otherwise, they’ll remain as “Unpublished Changes.”
- From the 3-dot menu, you can Edit or Archive your Smart Page.
Important Notes
- Smart Page URLs must be unique.
Creating multiple pages with the same URL will cause the latest one to override the others.
- Smart Pages are independent of other modules.
Any custom field created inside a Smart Page remains exclusive to that page and will not appear in Accounts or Ad Personalisation.
- You can add multiple segments to a single Smart Page.
If different segments should experience the same landing page personalization, they can all point to the same Smart Page.
For more consultation, please reach out to support at support@recotap.com
 Made with Bullet